

Latte Art: history, techniques and tips
Latte Art is one of the most fascinating and creative expressions in the world of coffee. This technique turns a simple cappuccino cup into a real canvas, on which baristas create motifs, from the simplest to the most elaborate, using only milk and coffee.
But where does Latte Art originate? What techniques do baristas use to create these small but fascinating works of art? Let's explore their history, techniques and discover a few tricks to pamper ourselves at home with a small masterpiece.
Origins and evolution
Latte Art's origins are uncertain, but it is believed to have originated in Italy in the 1980s at the hands of barista Luigi Lupi and his master Pietro Merlo, when they began experimenting with milk cream to improve the aesthetics of the cappuccino.
The technique then quickly spread to the United States, where it gained popularity thanks to pioneers such as David Schomer, a barista from Seattle, who is often cited as one of the first to perfect and propagate the art of free pouring, taking Latte Art to a higher level of complexity and sophistication.
In the 1990s, Latte Art saw significant growth thanks to the increase in the quality of espresso machines and milk frothers, and the advent of social media further contributed to the spread and evolution of this decorative technique.
Today, Latte Art is not only a demonstration of technical skill, but also an essential component of the coffee experience, loved by baristas and enthusiasts all over the world.
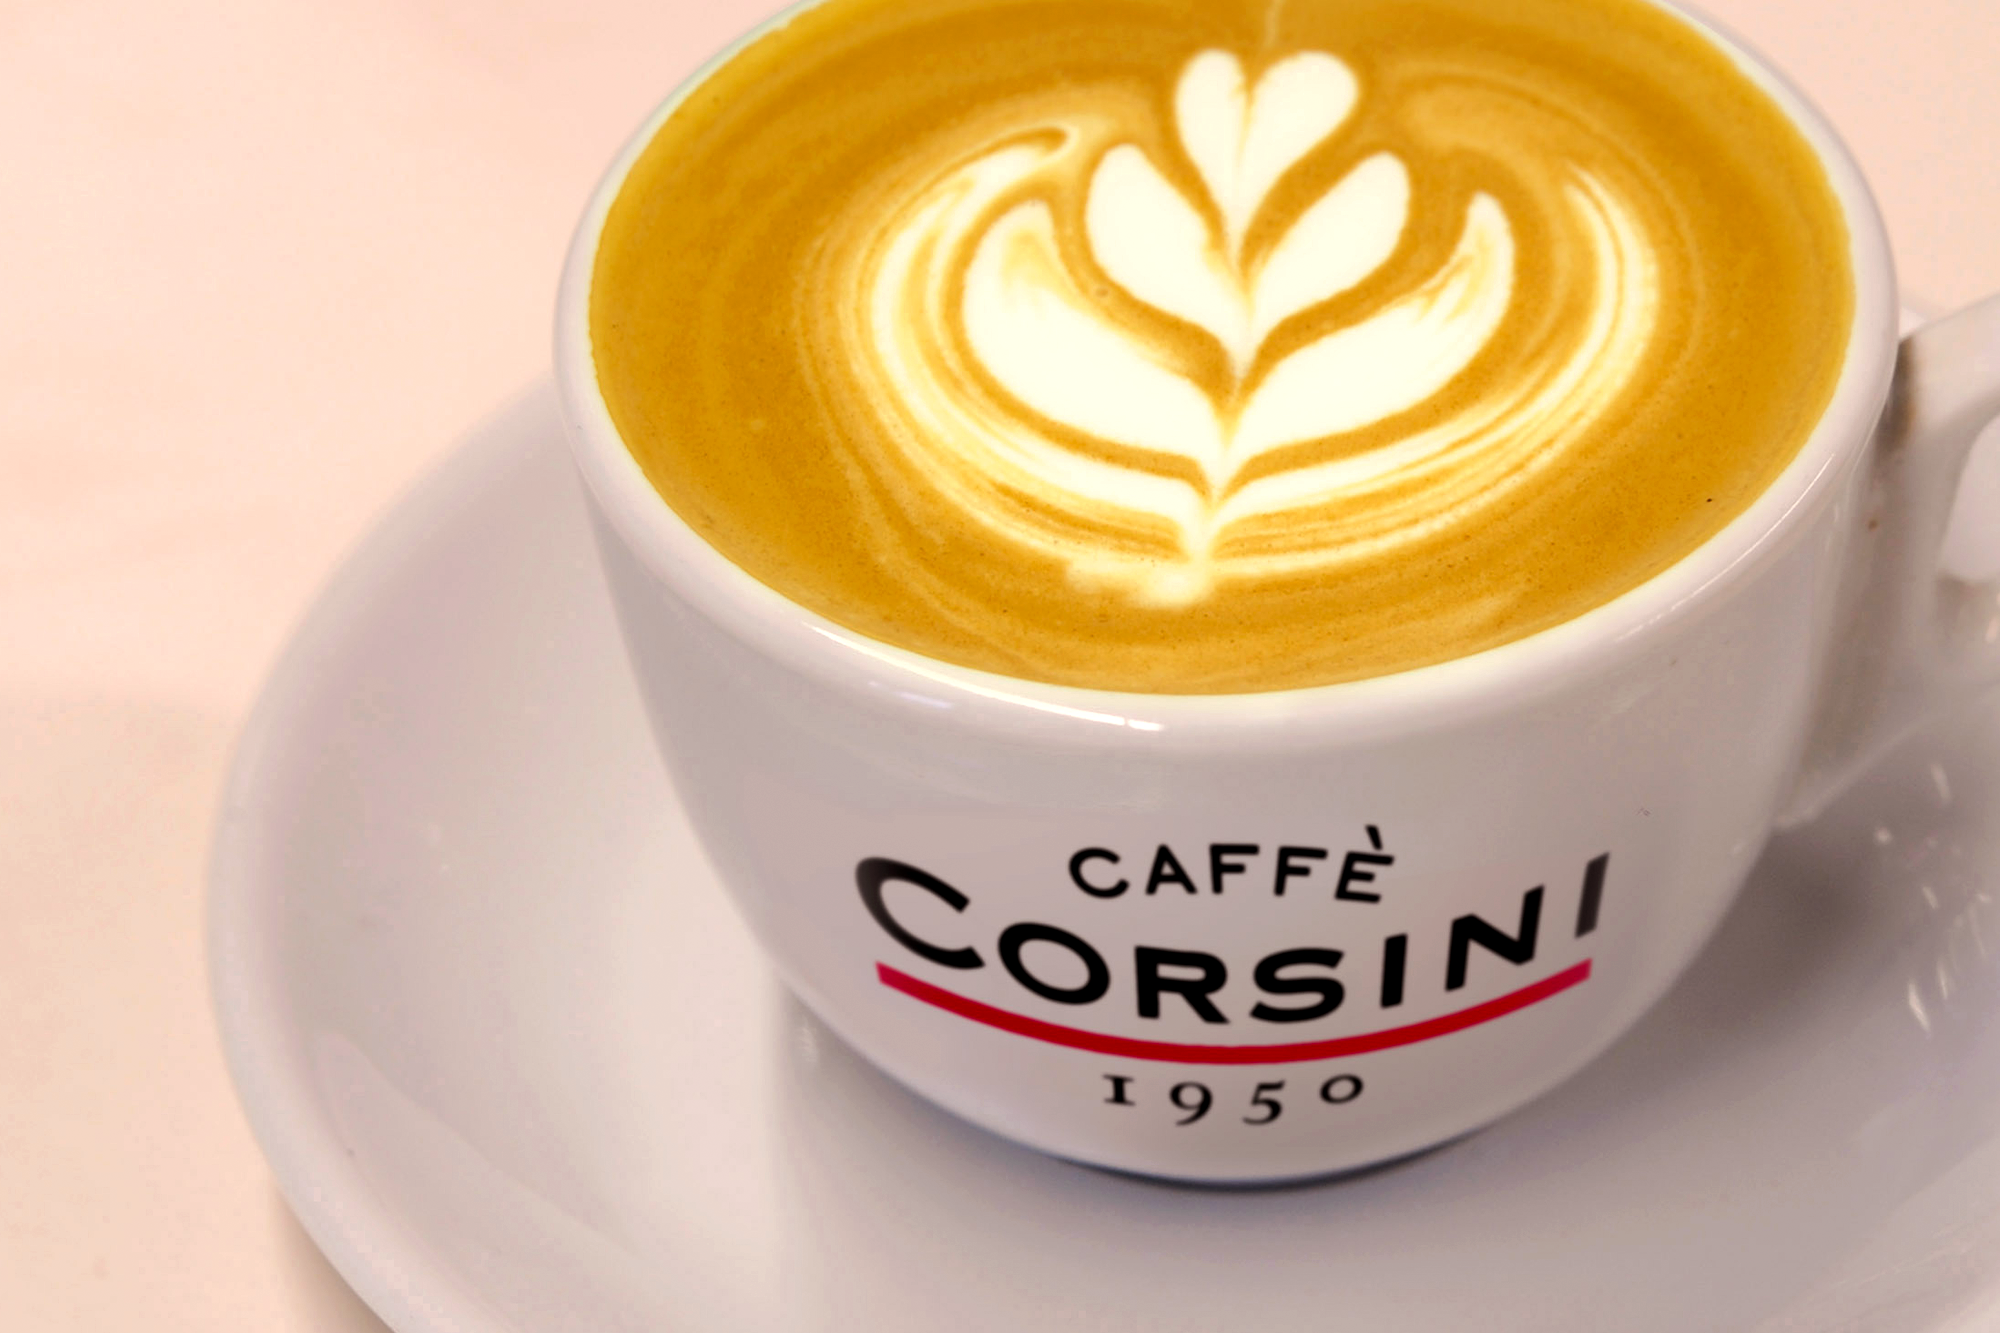
Free pouring, etching and basic drawings
Free pouring and etching are two main techniques used in latte art.
Free pouring is the most common technique: it involves pouring whipped milk directly into the coffee to create designs such as hearts, rosettes and tulips. Etching, on the other hand, is a technique that uses tools such as toothpicks to draw finer and more complex details on the surface of the milk.

Basic free pouring drawings
Heart
The heart is the simplest and most popular design to make with the free pouring technique. To create one, start by pouring the whipped milk into the centre of the cup. Once the foam begins to form a circle, you finish with a quick downward motion, cutting through the circle to form the tip of the heart.
Rosetta
Rosetta, also known as a leaf, is another classic design that requires a little more skill. To make it, you start by pouring the whipped milk into the coffee in a rocking motion. As you pour, you slowly move the creamer from one side of the cup to the other, creating a series of symmetrical petals. To complete the design, you finish with a central cut downwards, which defines the leaves and gives structure to the rosetta.
Tulip
The tulip is an elegant design obtained by pouring milk in several stages. You start by pouring a small amount of milk to form a round base. Next, small amounts of milk are poured so that the bubbles slightly overlap, forming a series of rings resembling the petals of a tulip. Each new pour must be carefully placed on top of the previous one, and the design is completed with a quick downward movement to define the overall shape of the flower.
Tips for making it at home
To obtain a good result, it is essential to whip milk correctly. Whether with a machine and steamer or with an electric whipper or by hand, remember these simple tips:
- use fresh, whole milk: it is easier to froth and produces a thicker, creamier foam, which is essential for creating precise designs;
- check the temperature and surface: the starting temperature should not exceed 4°C, while whipped it should be heated to around 55-60°C to obtain the ideal consistency. Make sure that once whipped it is smooth and free of bubbles: to do this, tap the creamer gently on a flat surface;
- swirl the cream around the rim of the creamer in circular movements: the cream should be glossy and elastic.
Curiosities
The milk must be:
• Fresh, so far from the expiry date;
• Whole, as it will be easier to assemble. There should be about 3.5% fat (35 g/1L) and 3.2% protein (32 g/1L): the former help to create a glossy, elastic cream and make it last, while the latter help in the formation of the actual cream by incorporating hot air;
• Cold, the starting temperature of the milk must not exceed 4°C;
• Whipped between 55° and 60°C.
It is important to know that milk contains casein, which, together with the tannin found in coffee, forms casein tannate. If the temperature of the milk exceeds 65°C, the casein tannate is no longer digestible by our stomachs. This is why we suggest not whipping it above 60°.
As in any art, practice makes perfect, but remember that to create a great cappuccino you also need to work with the right tools: visit our Barista shop and get started now!
Blog posts

Cocoa beans: what they are and why they are good for you
Cocoa beans are the seeds found insid...
Read more